So after weeks and weeks of kvetching about how I need to sit down and mess with brush settings and whatnot, I finally did. Here is a brief tutorial on making Photoshop brushes in Adobe CS 3, based on what I have discovered so far:
Step 1: Make sure your canvas is white, and work in black.
According to my own research and experience, Photoshop will see black, white, and shades of grey (which is a very useful thing, as it allows you to make some really interesting brushes, once you can wrap your head around how brush strokes work in Photoshop), and it will interpret colors similarly.
Step 2: Draw something.
It doesn’t really matter what, just draw something. Once you’ve drawn it, muss it up a bit, but don’t get too involved in looking for a specific shape of stroke- this isn’t Illustrator, where a brush stroke is a distended form of your stroke, Photoshop actually draws and redraws the shape of your brush along the length of the stroke (see “Spacing” in the Brush palette for what I mean). While the shape of what you draw does matter to an extent, it’s largely going to be influenced by the other brush settings, like Size Jitter and Spacing.
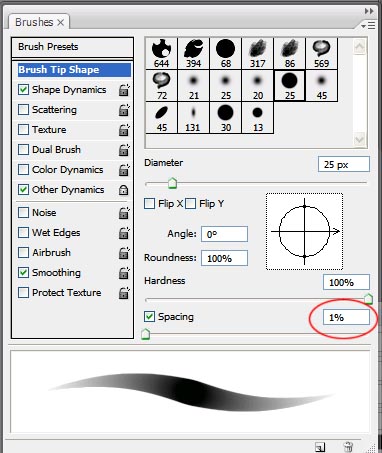
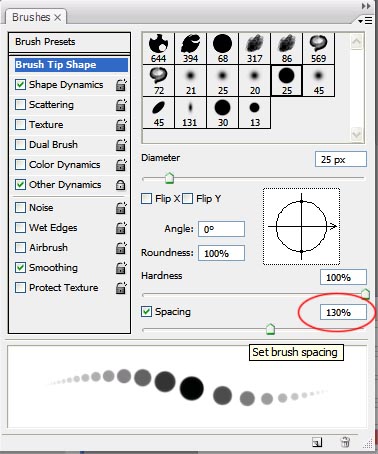
A typical PS brush has a low spacing setting, which causes the shapes that make up the stroke to run together into a single, continuous line. When you change the Spacing, interesting things can start to happen, though they’re a little more difficult to control:
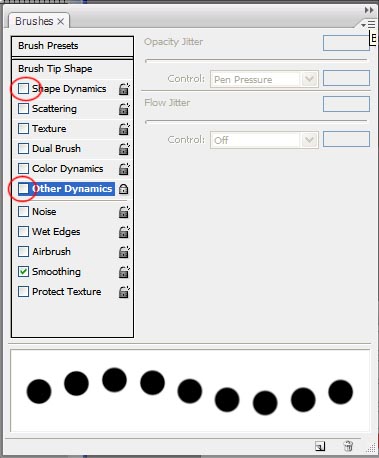
Both of these brushes have the Size Jitter and Opacity Jitter options on (notice how the circles get smaller and lighter at the ends of the stroke), and they’re both controlled by Pen Pressure, which means that the size and opacity (darkness) of the stroke changes depending on how hard I press with the pen.If I turned both of them off with a large Spacing, it looks like this:
I set up the Opacity and Size the way I did because I’m working with a Wacom tablet. If you stumbled your way in here from Googling something vaguely related to this post (like “tutorial” or “Photoshop brush”), you might want to pick yourself up a tablet of some kind. This isn’t the only way to use Opacity and/or Size Jitter; but it goes beyond the scope of this tutorial to explain every possible application of the settings.
Step 3: Select your something.
Use the Magic Wand, the Lasso, a Marquee, whatever works best for you.
Step 4: Edit -> Define Brush Preset
For some awkward reason, you’ll have to switch to a painting tool in order to get PS to recognize that this is your intent, because you obviously could not want to make a new brush while using a selection tool, but I digress. That’s all you need to do to make the brush; figuring out if it’s doing what you want it to do is another story entirely. Using the settings in the Bruh Palette, change the angle of the something that you drew, the Spacing, Opacity and other Jitters, even try makng your brush a Scatter brush and see how that grabs you.
Protip: Don’t believe the hype.
Even though some tutorials will tell you to make your brushes ridiculously large, there’s no need to do that unless you work that size on a regular basis. Personally, my canvases tend to be small with high pixel counts, because I find it easier to work with smaller images in terms of page real estate as opposed to pages that are many inches but few pixels wide. As a result, when I started making brushes on a (to me) epic scale, they didn’t scale down very well when I tried to make them fit in my (comparatively) tiny canvas.
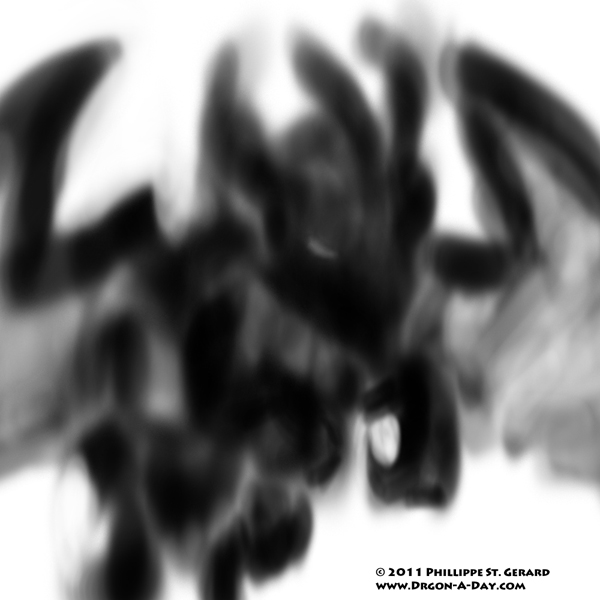
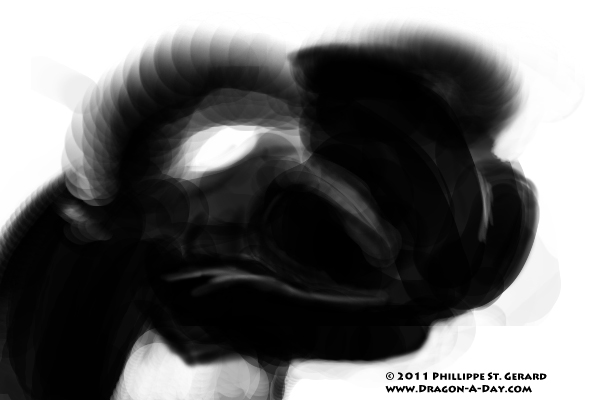
While messing around with brush settings and finding that different opacities can create new and interesting brushes, I drew this:
This was kind of a happy accident while trying to make a new and interesting blot to base a brush around. I’m pretty happy with the buildup of values and all, but I wasn’t done yet.
I actually made a brush that was interesting, but in reality, probably will have very few “real-world applications,” as the saying goes. I used it mostly to make the eyebrows in this:
It kind of lacks the finesse of the other one, but it’s not bad. I’m pretty sure that I could have done better with more greys in it and more brushplay, but I was kind of in a rush to do something actually for this post, and not another happy accident.

